Understanding DIY Teeth Whitening
Embarking on a journey to a brighter smile often leads individuals to explore do-it-yourself (DIY) teeth whitening methods. DIY teeth whitening has surged in popularity, providing accessible and cost-effective alternatives to professional treatments. The allure lies in the convenience of using readily available household items to enhance the appearance of your teeth. This approach caters to those seeking immediate results without the expense or time commitment of dental appointments. However, it’s crucial to approach these methods with a balanced perspective, understanding both their potential benefits and associated risks. Before diving into DIY teeth whitening, a comprehensive understanding of the underlying principles, the science behind it, and the importance of oral health is essential to achieve effective and safe results.
Why Consider One Day DIY Teeth Whitening
One-day DIY teeth whitening offers the enticing prospect of achieving a noticeably brighter smile within a short time frame. This rapid turnaround appeals to those seeking an immediate confidence boost, such as before a special event or important meeting. The primary advantage lies in its immediacy, providing an instant aesthetic enhancement. Furthermore, DIY methods are typically more budget-friendly compared to professional treatments or over-the-counter whitening kits, making them accessible to a wider audience. The convenience factor is another key benefit, as you can perform these treatments at home, fitting them into your schedule without the need for clinic visits. However, it is essential to remember that the effectiveness and safety of these methods can vary, and it’s crucial to approach them with realistic expectations and a thorough understanding of the potential trade-offs.
The Science Behind Teeth Whitening

Teeth whitening fundamentally involves breaking down the stains and discoloration accumulated on the enamel surface and within the dentin layer of your teeth. Stains are caused by chromogens, which are colored compounds that adhere to the tooth surface. Whitening agents, such as hydrogen peroxide and carbamide peroxide, are the active ingredients in most whitening products. These substances release oxygen molecules that penetrate the enamel and dentin. The oxygen molecules react with the stain molecules, breaking them into smaller, less visible components. The effectiveness depends on the concentration of the whitening agent, the duration of application, and the type of stain. DIY methods often use lower concentrations, potentially leading to less dramatic results compared to professional treatments. Understanding this scientific basis allows for a more informed and realistic approach to DIY teeth whitening, helping to manage expectations and choose methods that align with your oral health goals.
Effective One Day DIY Teeth Whitening Methods
Several DIY methods claim to offer quick teeth whitening results, but their efficacy varies. It’s important to approach these methods with caution and a realistic understanding of their potential. The most popular methods include using baking soda and hydrogen peroxide, activated charcoal, and coconut oil pulling. While these options are readily available and inexpensive, they have varying degrees of effectiveness and associated risks. Each method targets stains through different mechanisms, from abrasive action to chemical reactions. Remember that results can vary depending on the type of stains, the condition of your teeth, and the frequency of use. Thoroughly researching each method, understanding the proper application techniques, and being aware of potential side effects are critical to ensuring a safe and effective experience. Consult with a dental professional before trying any new teeth whitening treatment, especially if you have sensitive teeth or existing dental work.
Method 1 Baking Soda & Hydrogen Peroxide
Baking soda and hydrogen peroxide are frequently cited as effective DIY teeth whitening agents. Baking soda acts as a gentle abrasive, helping to scrub away surface stains. Hydrogen peroxide, an oxidizing agent, can penetrate the enamel and break down stains. This combination offers a dual approach to whitening, combining physical abrasion with chemical action. However, the effectiveness of this method depends on the concentration of hydrogen peroxide used and the frequency of application. Overuse can lead to enamel erosion and increased tooth sensitivity. It is essential to approach this method with caution and avoid excessive scrubbing, which can damage the enamel. While it may offer some whitening effect, results are often subtle, and the potential for negative side effects should be carefully considered.
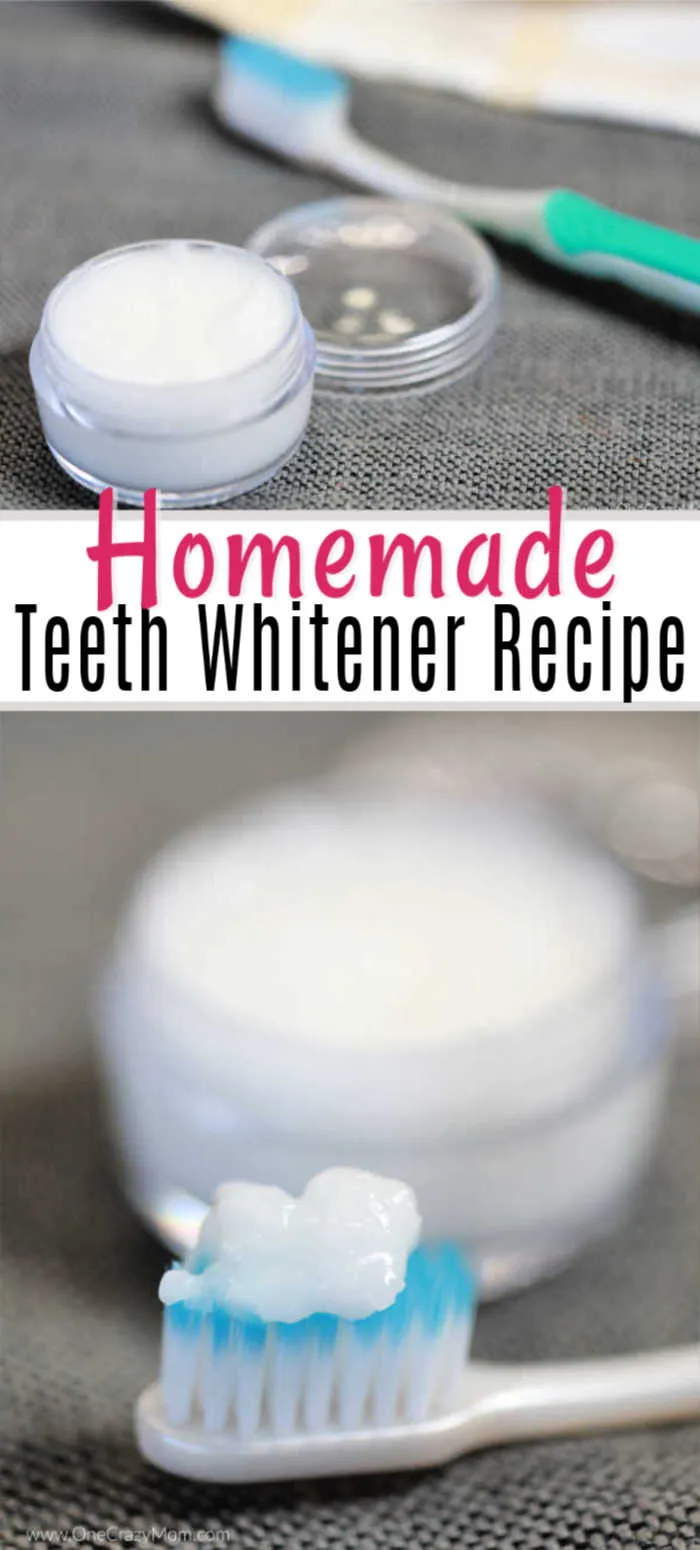
How to Mix Baking Soda and Hydrogen Peroxide

To create a DIY whitening paste using baking soda and hydrogen peroxide, start by mixing a small amount of baking soda with hydrogen peroxide. The ideal ratio is usually a few teaspoons of baking soda to just enough hydrogen peroxide to form a paste-like consistency. Avoid making the paste too runny, which could drip and be difficult to manage. Apply the paste gently to your teeth, using a soft-bristled toothbrush. Brush in gentle circular motions for no more than two minutes. Rinse your mouth thoroughly with water to remove any remaining paste. For optimal results and safety, this treatment should be done no more than once or twice a week. Always be mindful of your teeth’s sensitivity and discontinue use if you experience any discomfort or irritation. It’s always best to consult a dentist before using this method.
Application and Duration
The application and duration of the baking soda and hydrogen peroxide method are crucial for maximizing benefits while minimizing risks. After mixing the paste, apply it to your teeth using a soft toothbrush. Brush gently in circular motions, ensuring every surface is covered. The recommended brushing time is approximately two minutes. Over-brushing can damage enamel. After brushing, rinse your mouth thoroughly with water. It is advisable to limit the frequency of this treatment to once or twice a week. This approach helps to prevent enamel erosion and reduces the risk of increased tooth sensitivity. Consistently monitoring your teeth for any adverse effects, such as increased sensitivity or irritation, is important. If you notice any issues, cease use immediately. Following these guidelines will help you to achieve the best results while maintaining the health of your teeth.
Method 2 Activated Charcoal
Activated charcoal has gained popularity as a DIY teeth whitening method due to its absorbent properties. It is believed to remove stains by attracting and binding to them. The porous nature of activated charcoal allows it to trap stain-causing particles on the tooth surface. However, the scientific evidence supporting its effectiveness is limited compared to methods like hydrogen peroxide. The primary mechanism of action involves a gentle abrasive effect, which helps to remove surface stains. It is essential to source food-grade activated charcoal to ensure it is safe for oral use. While the method is generally considered safe when used sparingly, there is potential for abrasive damage to the enamel if used excessively. Before using activated charcoal, you should consult your dentist to make sure that it is safe for you and your teeth.
Preparing Activated Charcoal Paste

To use activated charcoal, you can either purchase it in powder form or obtain capsules and empty their contents. The preparation is simple — add a small amount of water to the charcoal powder to form a paste. The ideal consistency is a thick paste that is easy to apply to your teeth without being too runny. Apply the paste to your toothbrush and gently brush your teeth for about two minutes, ensuring all surfaces are covered. Be mindful of the mess, as activated charcoal can stain your clothing and bathroom surfaces. After brushing, rinse your mouth thoroughly with water several times to remove all traces of the charcoal. Repeat this process no more than a few times per week. Using it more often could lead to enamel erosion. Consult your dentist before incorporating it into your routine to ensure its safe for your teeth.
Application and Usage
The application and usage of activated charcoal are fairly straightforward. After preparing the paste, apply it to your toothbrush and gently brush your teeth for about two minutes. Be sure to cover every surface of your teeth to achieve the best results. Focus on gentle brushing to avoid damaging your enamel. After brushing, rinse your mouth very thoroughly with water to remove all traces of the charcoal, as it can leave a black residue. Brush your teeth again with your regular toothpaste to ensure all the charcoal is removed and to freshen your breath. For optimal results and to minimize any potential risks, limit the use of activated charcoal to a few times per week. Monitor your teeth for any signs of increased sensitivity or irritation. Should you experience any adverse effects, discontinue use and consult with your dentist.
Method 3 Coconut Oil Pulling
Coconut oil pulling involves swishing coconut oil in your mouth for an extended period to purportedly remove bacteria and toxins, potentially contributing to whiter teeth. The mechanism of action is thought to involve the oil binding to bacteria and plaque, thereby reducing their presence in the mouth. While the scientific evidence for its teeth whitening effects is limited, some users report a perceived improvement in tooth brightness. Coconut oil pulling is primarily seen as a supplementary oral hygiene practice, rather than a standalone whitening method. Its purported benefits also include improved gum health and fresher breath. The process is gentle and natural, making it an appealing option for those seeking a holistic approach to oral care. However, results may vary, and the primary focus should remain on proven methods for whitening, like those involving hydrogen peroxide.
How to Perform Coconut Oil Pulling

To perform coconut oil pulling, take about one to two tablespoons of coconut oil and place it in your mouth. Swish the oil around your mouth, pushing it through your teeth for 15 to 20 minutes. It is essential not to swallow the oil, as it will be saturated with bacteria and toxins. After swishing, spit the oil into a trash can, as it can clog drains. Rinse your mouth thoroughly with warm water, and then brush your teeth as usual. This should be done on an empty stomach, preferably in the morning. Coconut oil pulling should be incorporated as part of your overall oral hygiene routine, along with regular brushing, flossing, and dental check-ups. Be patient, as the benefits of coconut oil pulling may take time to become noticeable. Remember to always consult your dentist before starting any new oral care practice.
Frequency and Duration
The recommended frequency and duration for coconut oil pulling are generally once a day, ideally in the morning before eating or drinking anything. The duration of the swishing should be between 15 to 20 minutes. It is important to maintain this duration for optimal results. Start gradually if you’re new to oil pulling, and build up to the full duration as your mouth becomes accustomed to the practice. Consistency is key. To maximize the potential benefits, perform coconut oil pulling regularly. Remember to spit the oil into a trash can to avoid clogging your sink drain. Follow up with a thorough rinse of your mouth with warm water and brush your teeth as normal. While the practice is generally considered safe, be mindful of any discomfort or sensitivity. Consult a dental professional before starting or continuing this practice, especially if you have existing dental issues.
Important Considerations and Precautions
When embarking on DIY teeth whitening, it’s crucial to understand the potential risks and take necessary precautions to protect your oral health. Always prioritize the safety of your teeth and gums. Before trying any DIY method, consult with a dentist to discuss your oral health and suitability. Start with a lower concentration of whitening agents and gradually increase it if needed, while closely monitoring your teeth for any adverse effects. Avoid excessive brushing or prolonged application of whitening agents, as this can lead to enamel erosion and increased tooth sensitivity. It is essential to understand that DIY methods may not be suitable for everyone, especially those with existing dental issues, sensitive teeth, or dental work. By following these precautions, you can minimize the risks and make informed decisions to protect your smile.
Potential Side Effects

DIY teeth whitening methods can sometimes lead to side effects, which vary depending on the method used and individual sensitivity. The most common side effect is tooth sensitivity, which may manifest as a sharp pain when consuming hot, cold, sweet, or acidic foods and drinks. This occurs because the whitening agents can penetrate the enamel and irritate the nerves in the teeth. Gum irritation is another potential side effect, characterized by redness, swelling, and tenderness of the gums. Excessive use of abrasive materials can cause enamel erosion, making the teeth more vulnerable to decay and sensitivity. It’s important to stop using the whitening method immediately if you experience any adverse reactions. Using a fluoride toothpaste can help to reduce sensitivity. If the symptoms persist, consult with your dentist to prevent further damage.
Who Should Avoid One Day DIY Whitening
Certain individuals should avoid one-day DIY teeth whitening methods due to the potential risks and contraindications. People with sensitive teeth or existing dental issues, such as cavities, gum disease, or enamel erosion, should exercise caution or avoid these methods altogether. The whitening agents can exacerbate sensitivity or cause further damage to compromised teeth. Individuals with dental restorations, such as fillings, crowns, or veneers, should also be cautious, as DIY whitening methods typically do not whiten these materials. Pregnant or breastfeeding women should consult their dentist before using any teeth whitening products, as some ingredients might pose risks. It’s always best to consult with a dentist before using any DIY teeth whitening method.
Maximizing Your Results and Maintaining Brightness
Achieving and maintaining a bright smile through DIY teeth whitening involves more than just the initial treatment. Several strategies can help maximize your results and ensure long-lasting effects. Combining DIY methods with professional dental cleanings can provide enhanced results. Additionally, maintaining proper oral hygiene practices, such as regular brushing and flossing, is critical for removing surface stains and preventing the buildup of plaque. Limiting consumption of stain-causing foods and drinks, such as coffee, tea, red wine, and dark-colored berries, helps to reduce the recurrence of discoloration. Regular dental check-ups and professional cleanings can help to maintain your results and address any potential issues. By combining effective whitening techniques with good oral hygiene, you can achieve a brighter, healthier smile.
Dietary Adjustments for a Whiter Smile

Diet plays a significant role in maintaining a bright smile. Certain foods and drinks can stain your teeth, while others can help keep them white. Limiting the consumption of stain-causing substances is essential. Coffee, tea, red wine, dark sodas, and deeply colored berries are major contributors to tooth discoloration. Consuming these in moderation or using a straw to minimize contact with your teeth can help. On the other hand, some foods promote oral health and can contribute to whiter teeth. Crunchy fruits and vegetables, such as apples, carrots, and celery, act as natural abrasives, helping to scrub away surface stains. Dairy products, like milk and cheese, contain calcium, which strengthens enamel and protects against stains. Drinking plenty of water helps to rinse away food particles and acids that can cause discoloration. By making informed dietary choices, you can enhance your teeth whitening efforts and maintain a brighter smile.
Oral Hygiene Practices for Long-Term Whitening
Proper oral hygiene is fundamental to maintaining a bright and healthy smile. Brushing your teeth twice a day with fluoride toothpaste is essential for removing plaque, bacteria, and surface stains. Flossing daily removes food particles and plaque from between your teeth, where your toothbrush can’t reach. Using mouthwash can further help to reduce plaque and freshen breath. Regular dental check-ups and professional cleanings are crucial for removing stubborn stains and plaque that can’t be removed at home. These visits also allow your dentist to identify and address any potential oral health issues. Avoiding tobacco products and limiting the consumption of stain-causing foods and drinks are also important. By consistently practicing good oral hygiene, you not only enhance the effectiveness of your teeth whitening efforts but also promote overall oral health and long-term smile maintenance.
Conclusion
DIY teeth whitening offers an accessible option for enhancing your smile, but it’s important to approach these methods with knowledge and caution. While the allure of quick results is appealing, understanding the science behind whitening, potential risks, and the importance of oral health is paramount. Methods like baking soda and hydrogen peroxide, activated charcoal, and coconut oil pulling can offer some benefits, but their effectiveness and safety vary. Always consult a dentist before trying any new DIY treatment. Prioritize oral health by practicing good hygiene, making informed dietary choices, and seeking professional dental care. By following these guidelines, you can safely and effectively pursue a brighter smile, enjoying the confidence that comes with it. Remember, a healthy and radiant smile is a valuable asset that reflects overall well-being.